SLATOR-USA. ANCHOR IN. LIVE LONG.
  • HOME
    • Contact
    • Privacy Policy
  • STORE
  • EXPLORE
    • Blue Glass, LLC
    • DIY GALLERY
    • PERMANENT RIDGE ANCHOR FEATURES
    • Historic ANCHOR PROJECTS
    • CUSTOM ANCHOR PROJECTS
    • Why Specify the V Series Permanent Roof Anchor?
    • SLATOR LIFE SAFETY ANCHOR DESIGN PRINCIPLES
    • HIDDEN GUTTER - Uh oh.
    • PETZL GEAR PACKAGES
  • LEARN
    • SAFETY GEAR >
      • GEAR WE LOVE
      • OSHA-roofing
      • PICKING YOUR ROOFING HARNESS
      • Your Rope
      • Mobile Fall Arrester
      • Your Anchor Point
      • SAFE FIRST ASCENTS ON ROOFS
      • HEAD AND EYE PROTECTION
      • Work Positioning
    • When someone falls off your roof
    • Steep Roof Safety - Video Library
    • Architect's Guide to Permanent Fall Protection
    • Common Sense Selection of Permanent Roof Anchors
    • How many anchor points do I need for a roof?
    • ANCHOR PLACEMENT TUTORIAL
    • Real Slate/tile vs Synthetic Materials
    • SLATE ROOF STEPS
  • V-5 Permanent Roof Anchor

V-5 Permanent Roof Anchor

SKU:
$265.00
265 285 $265.00 - $285.00
Unavailable
per item

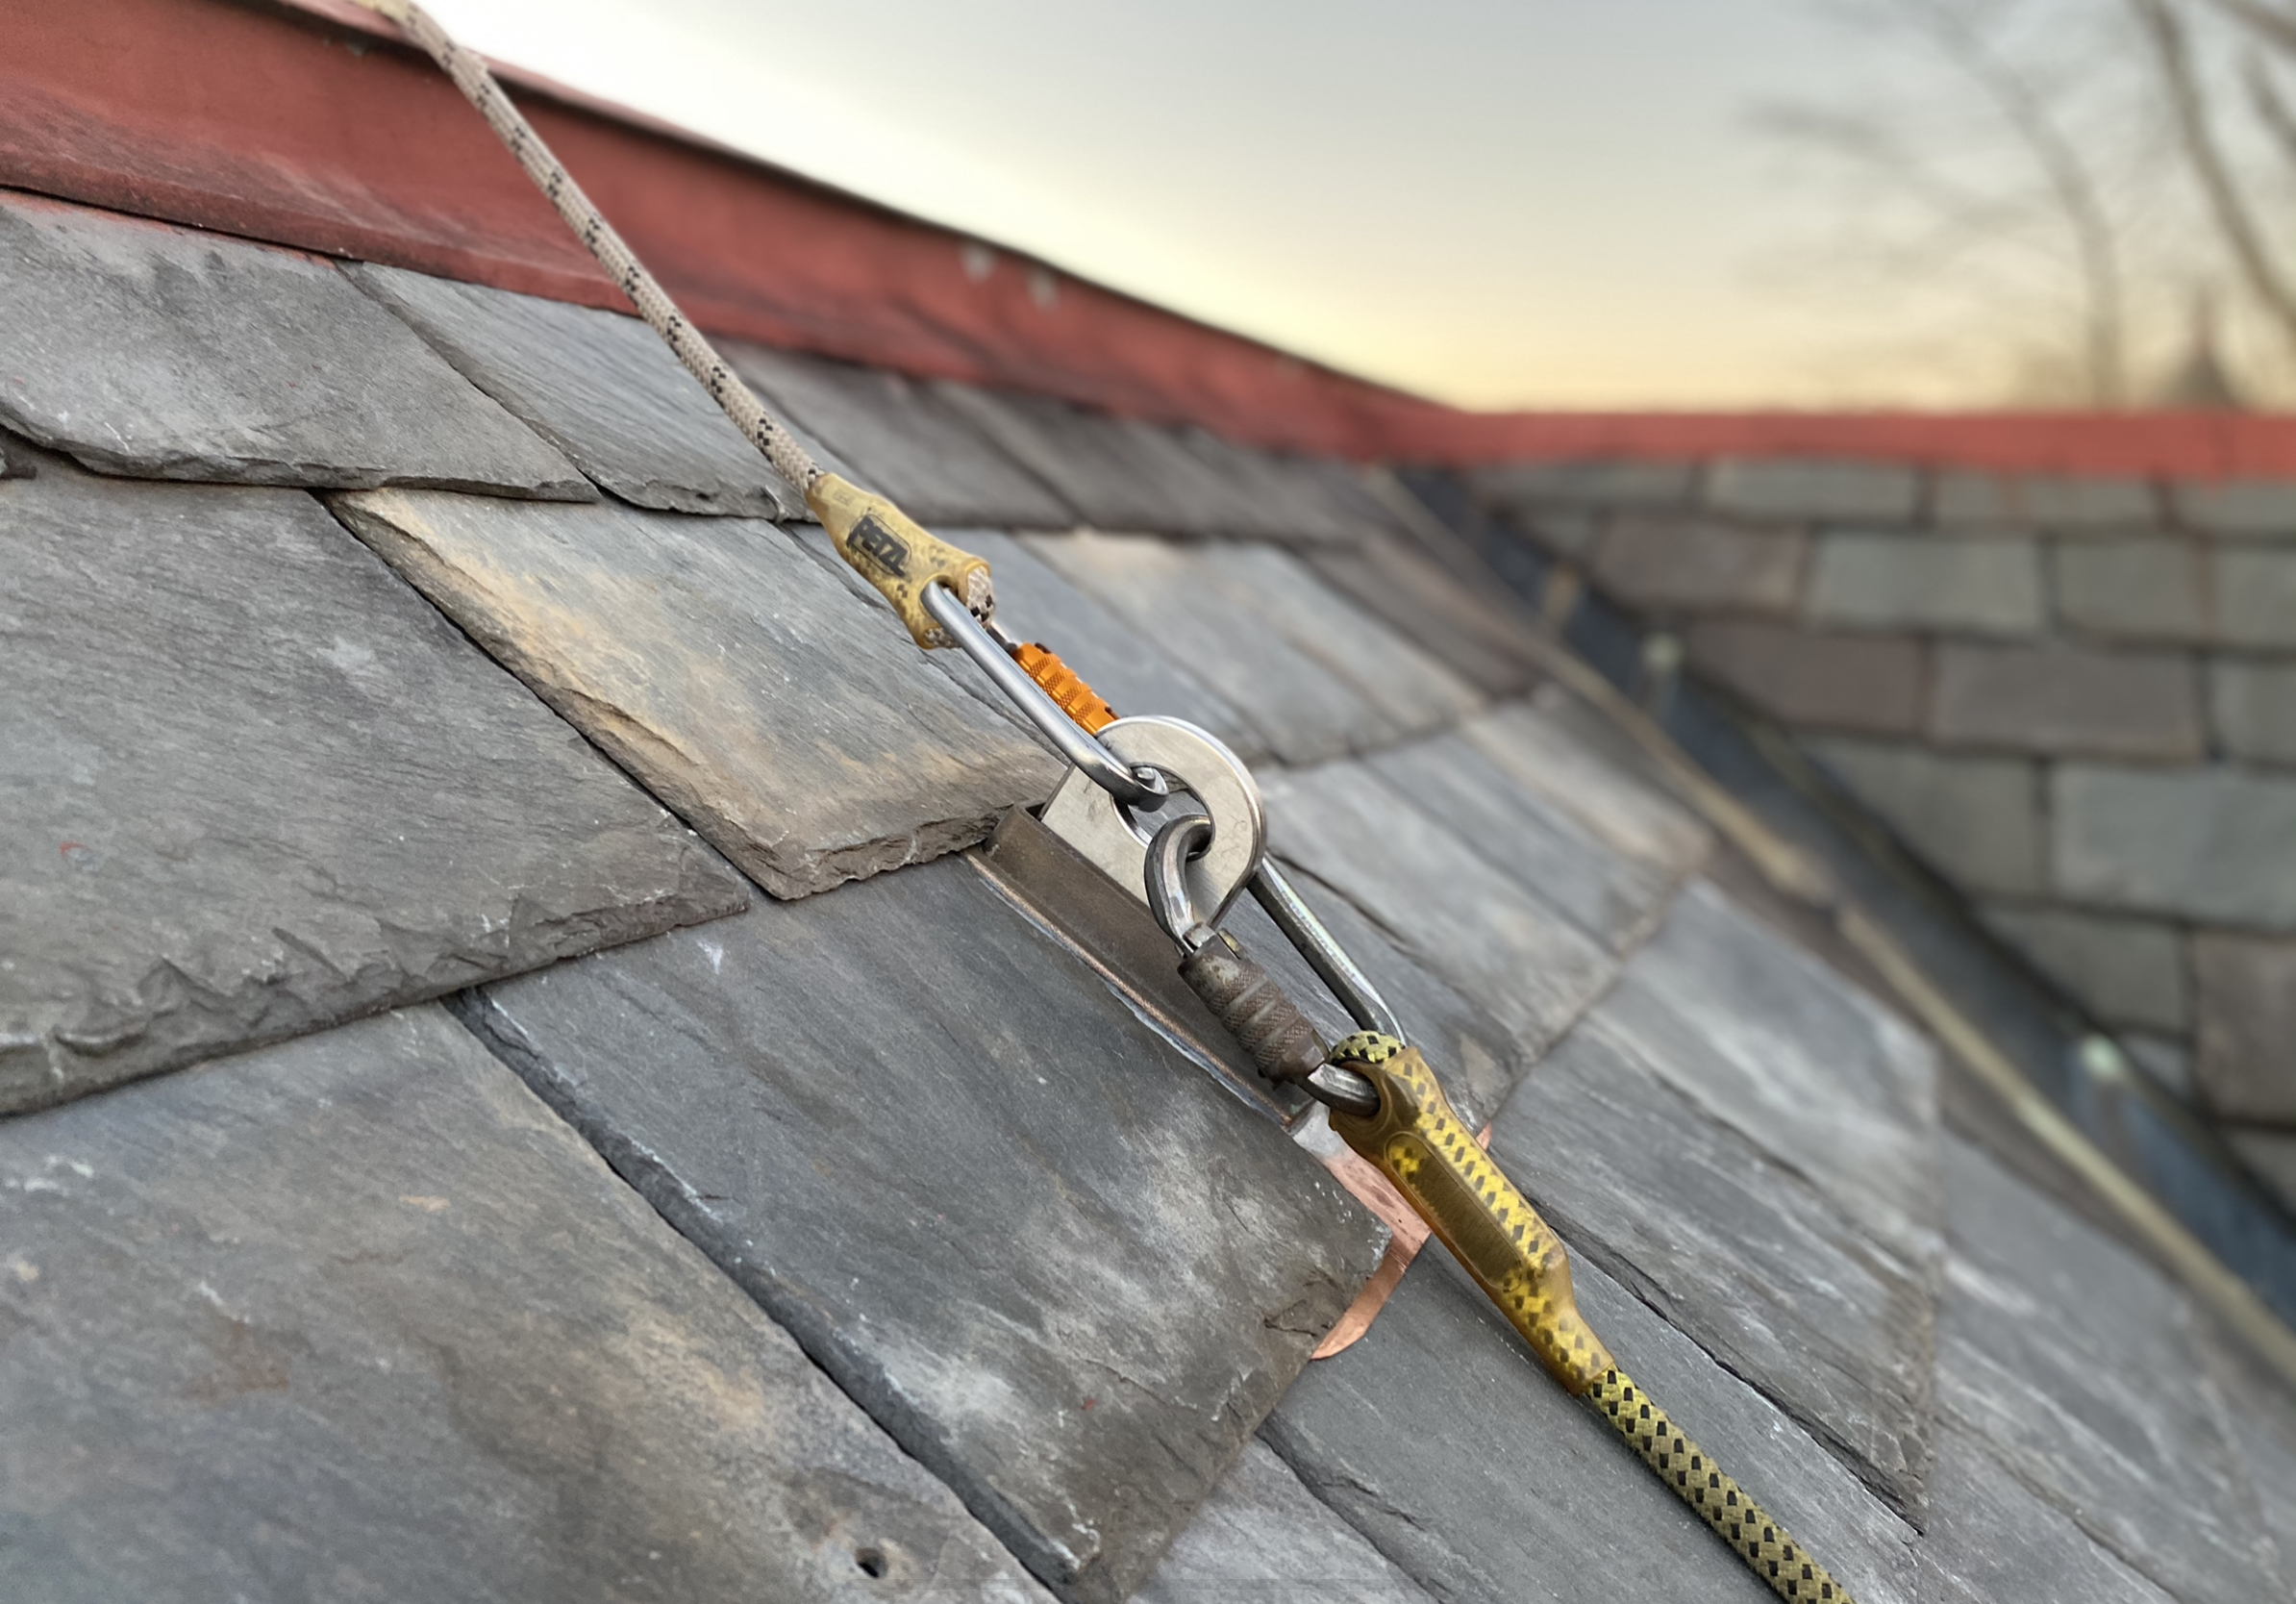
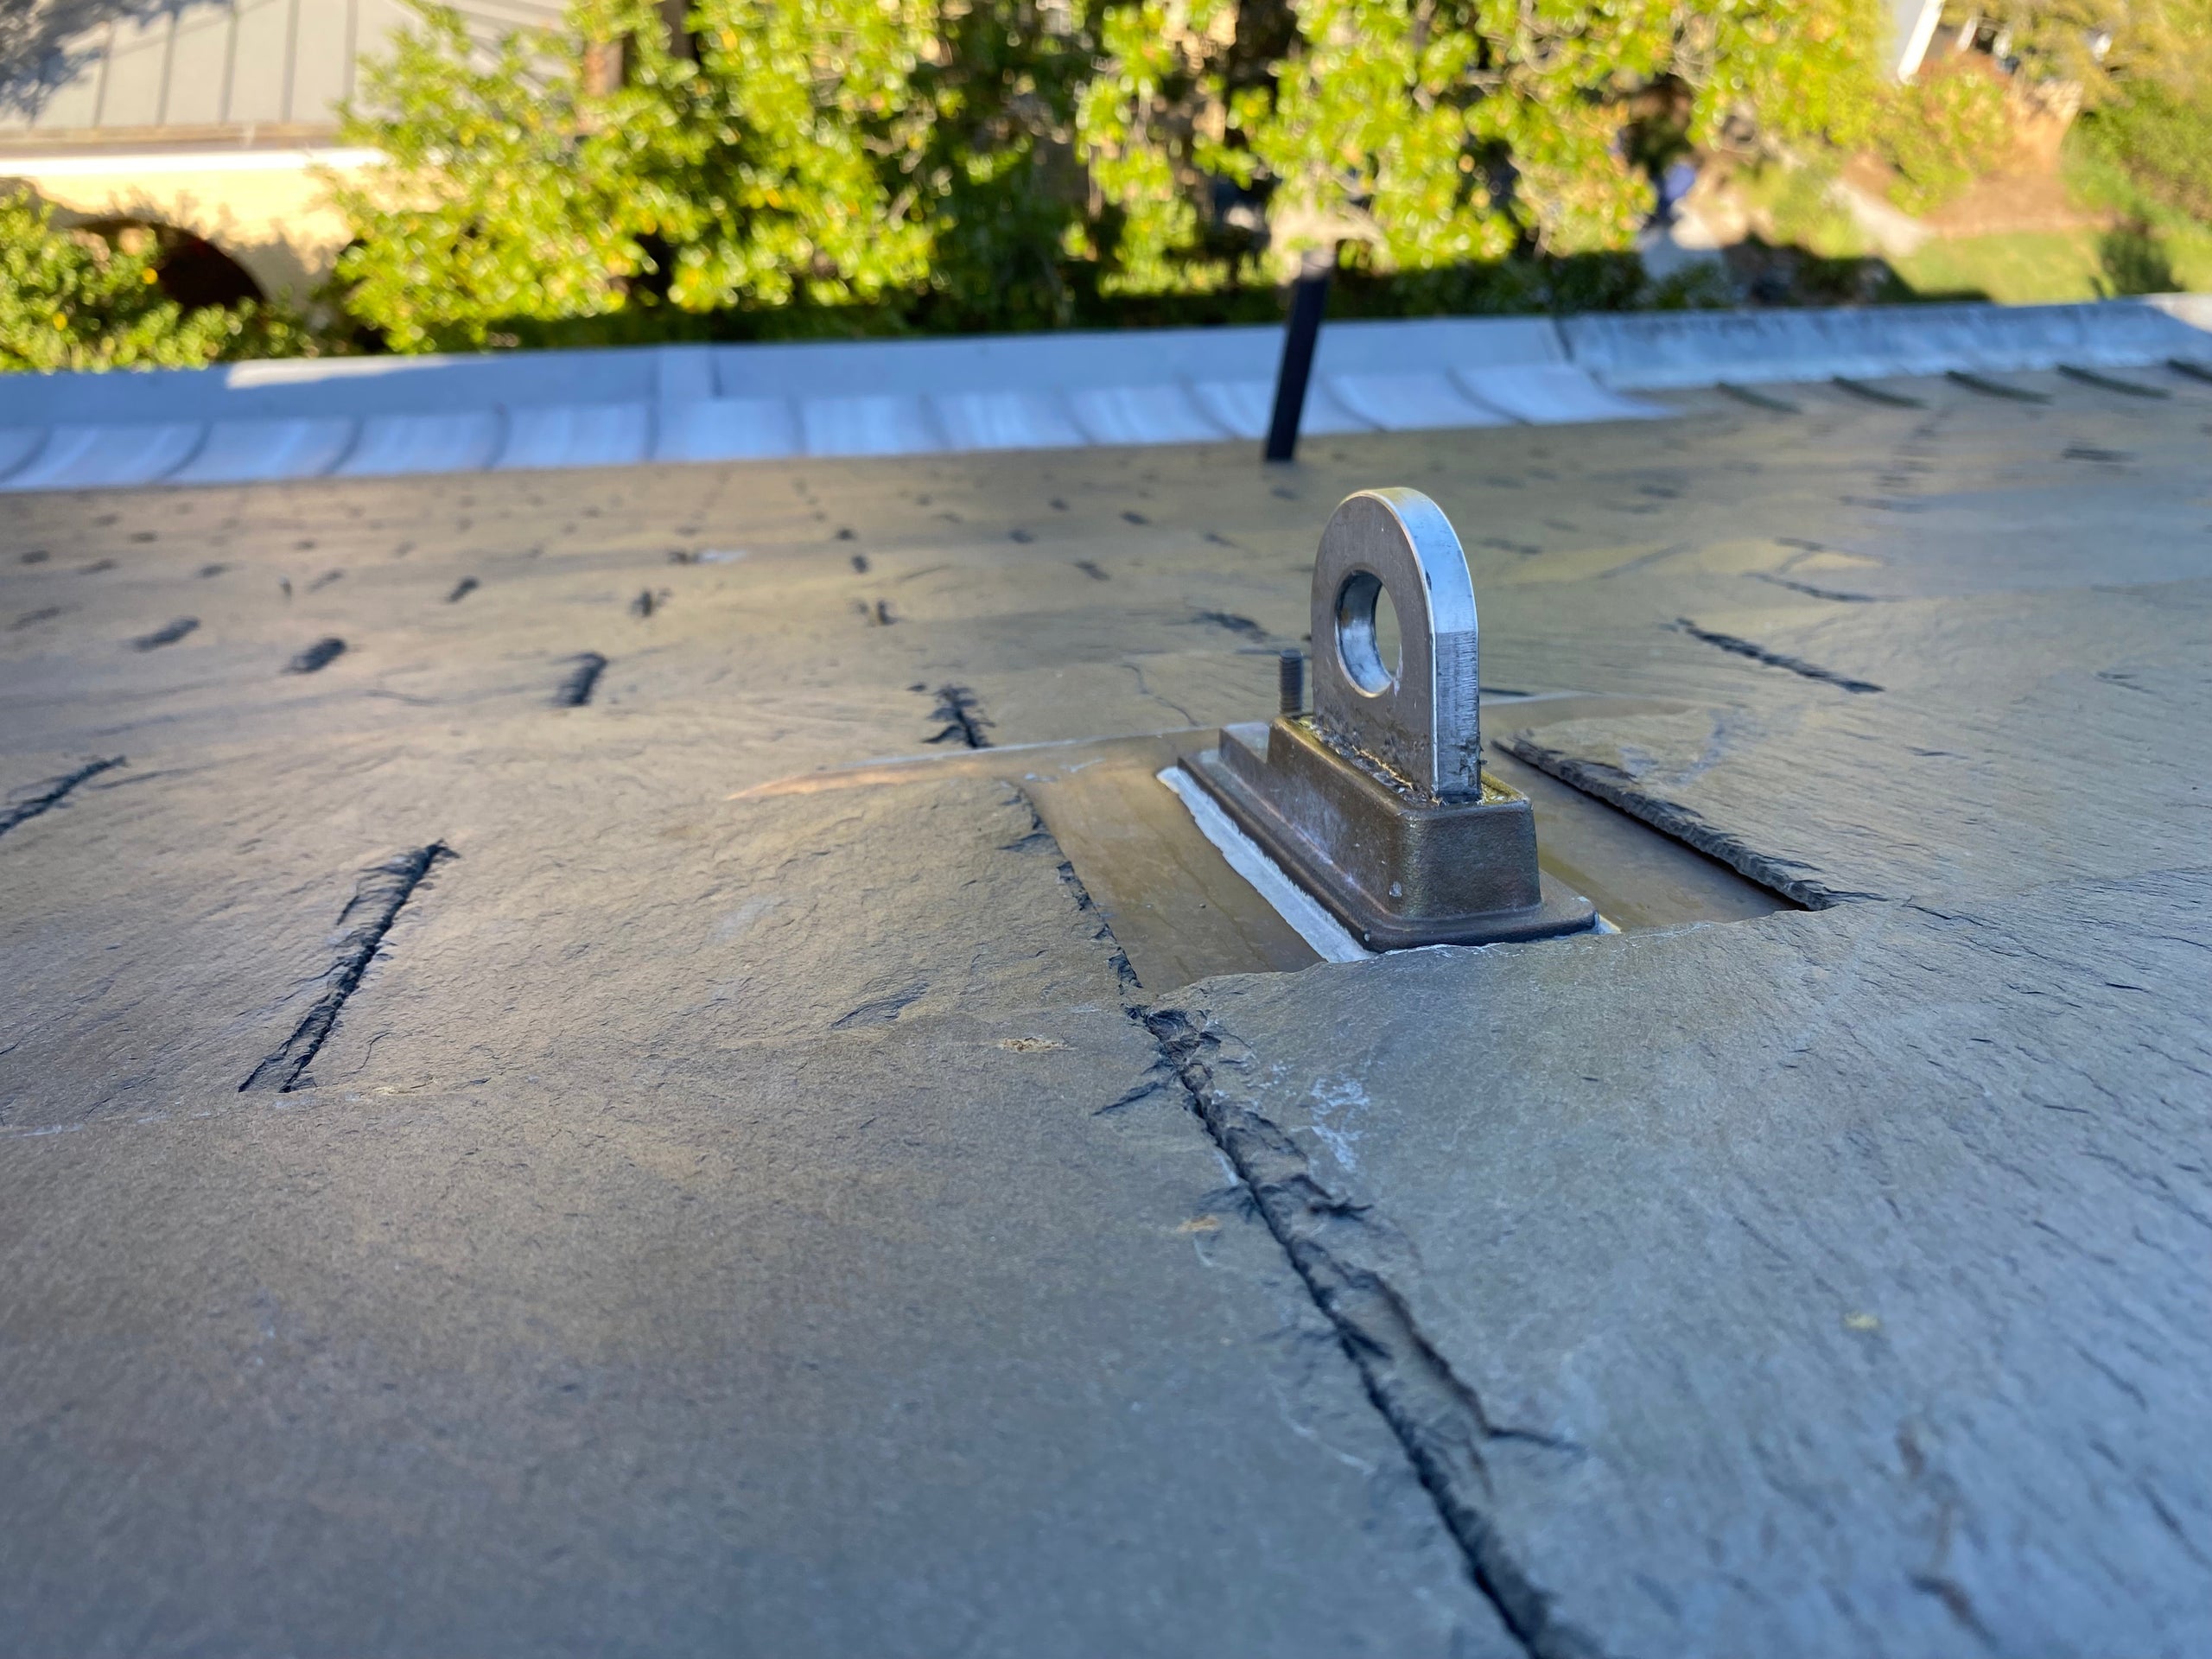
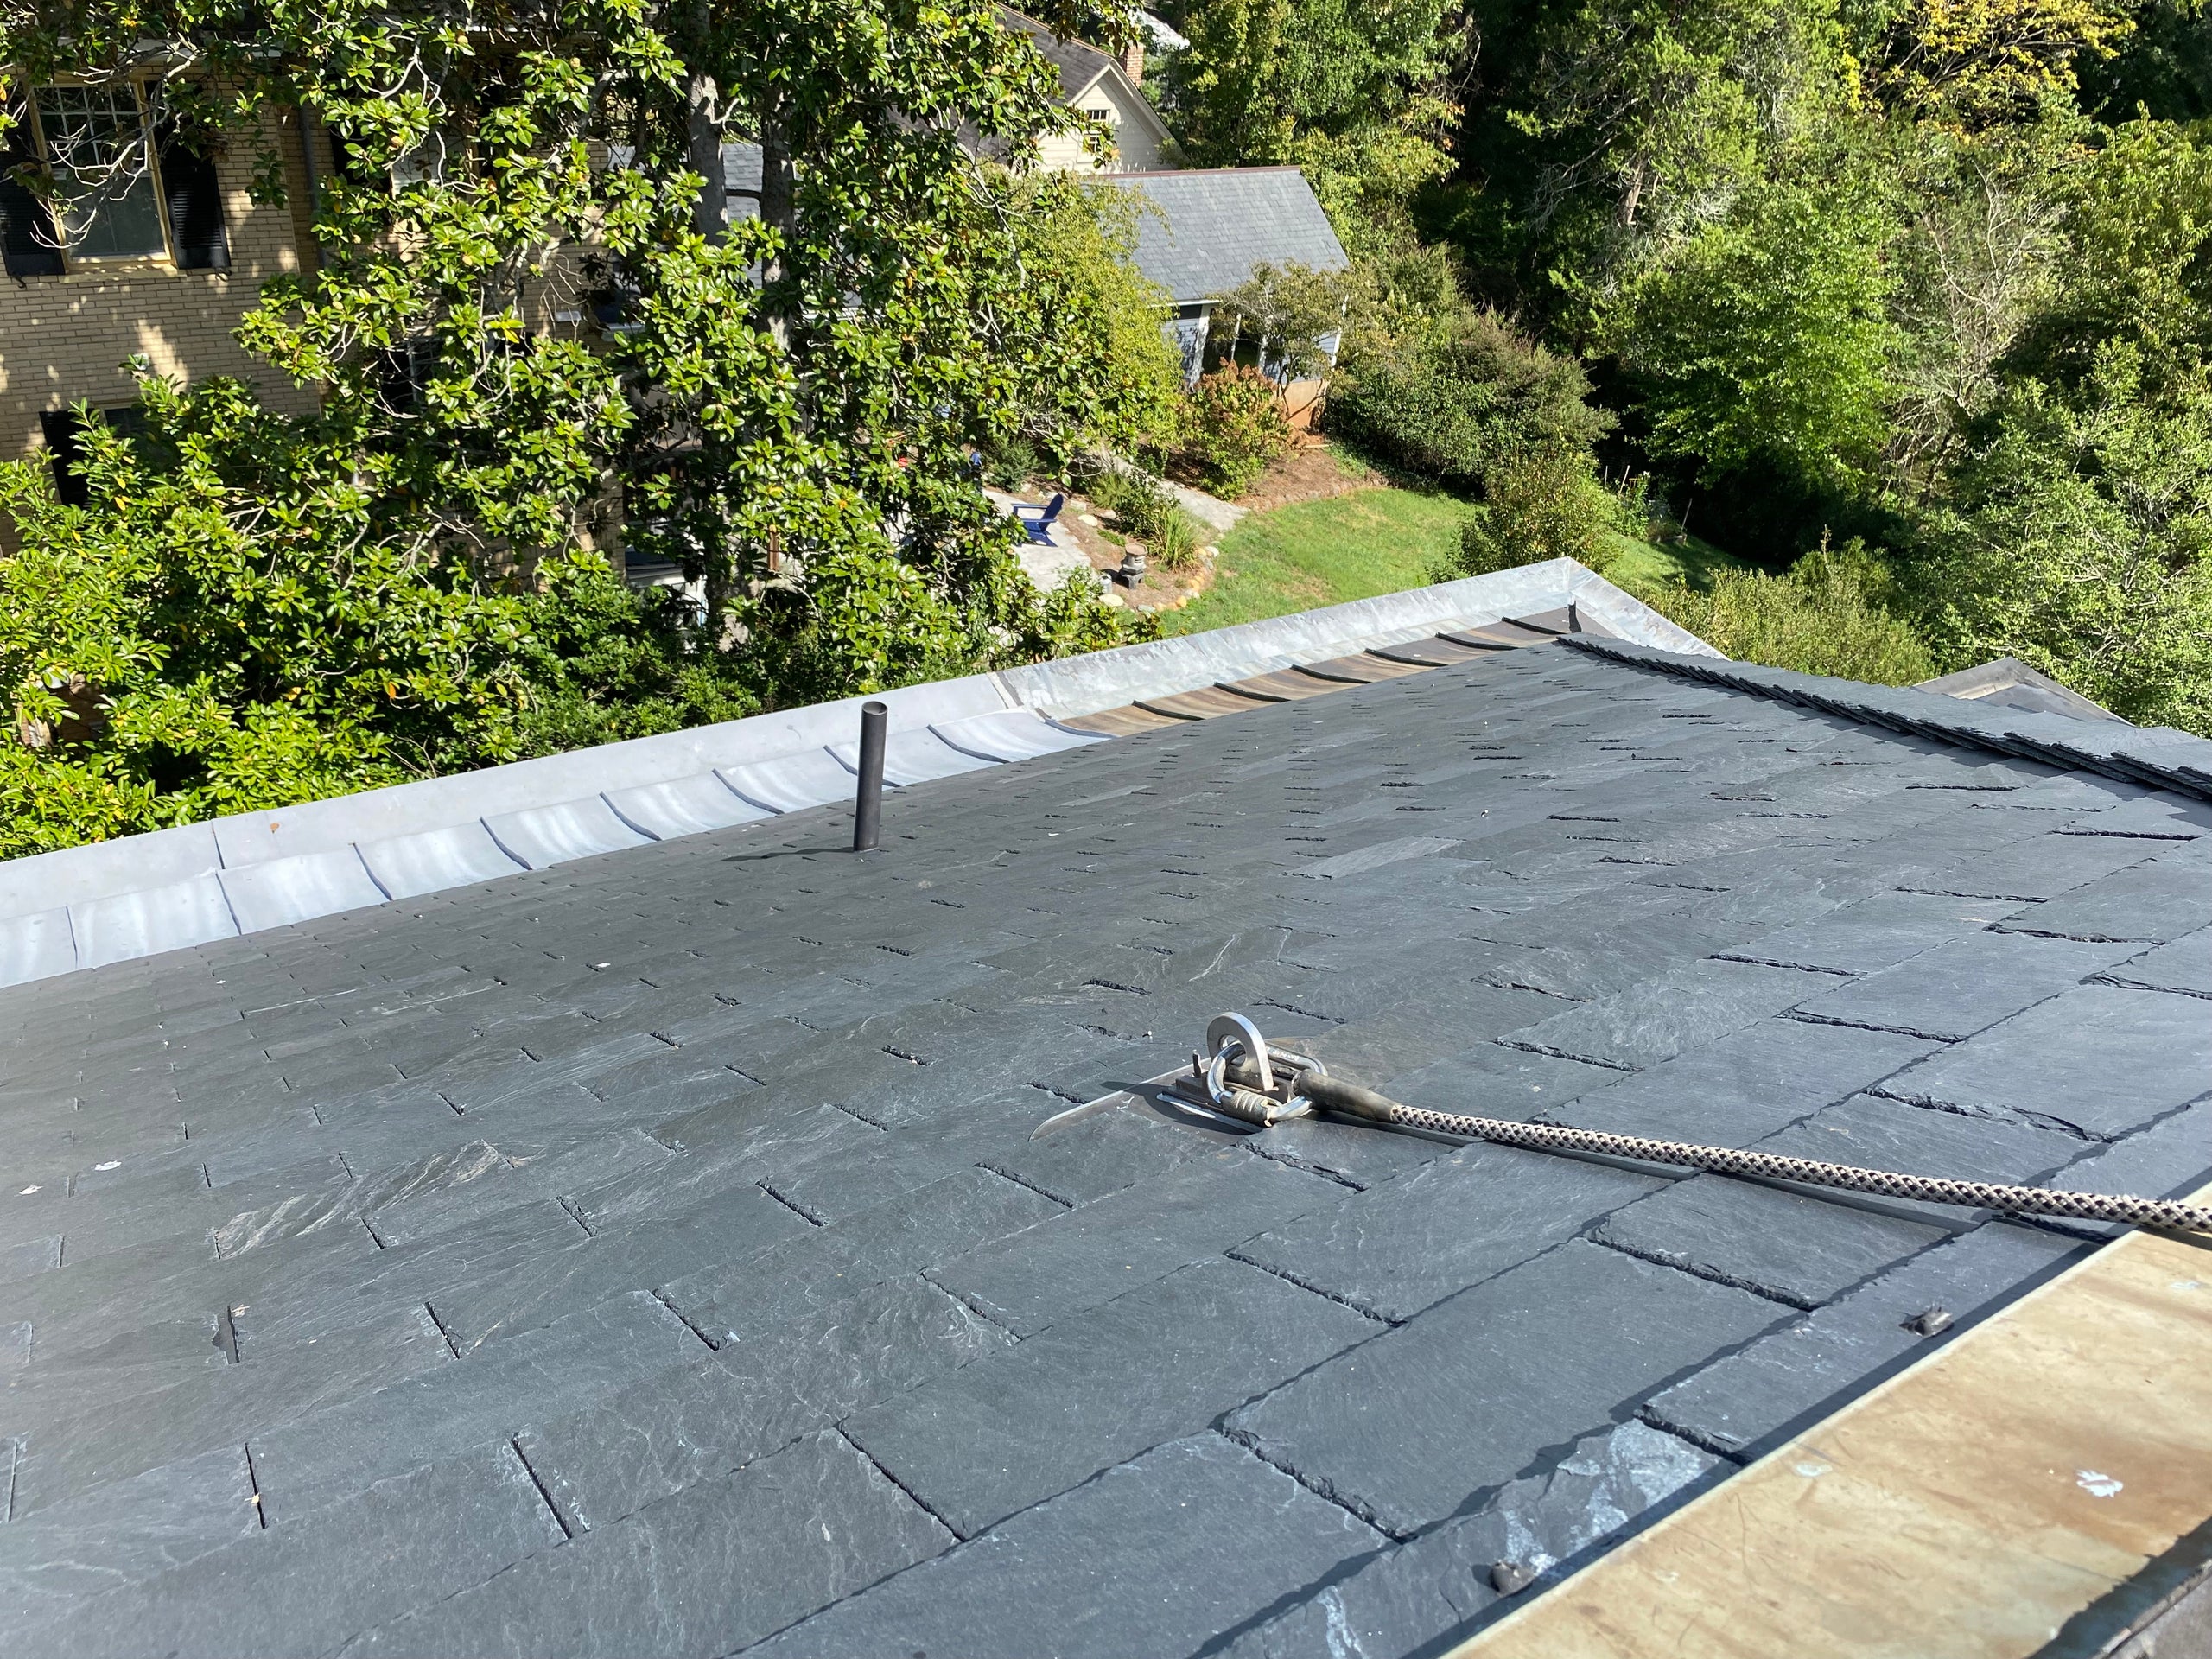
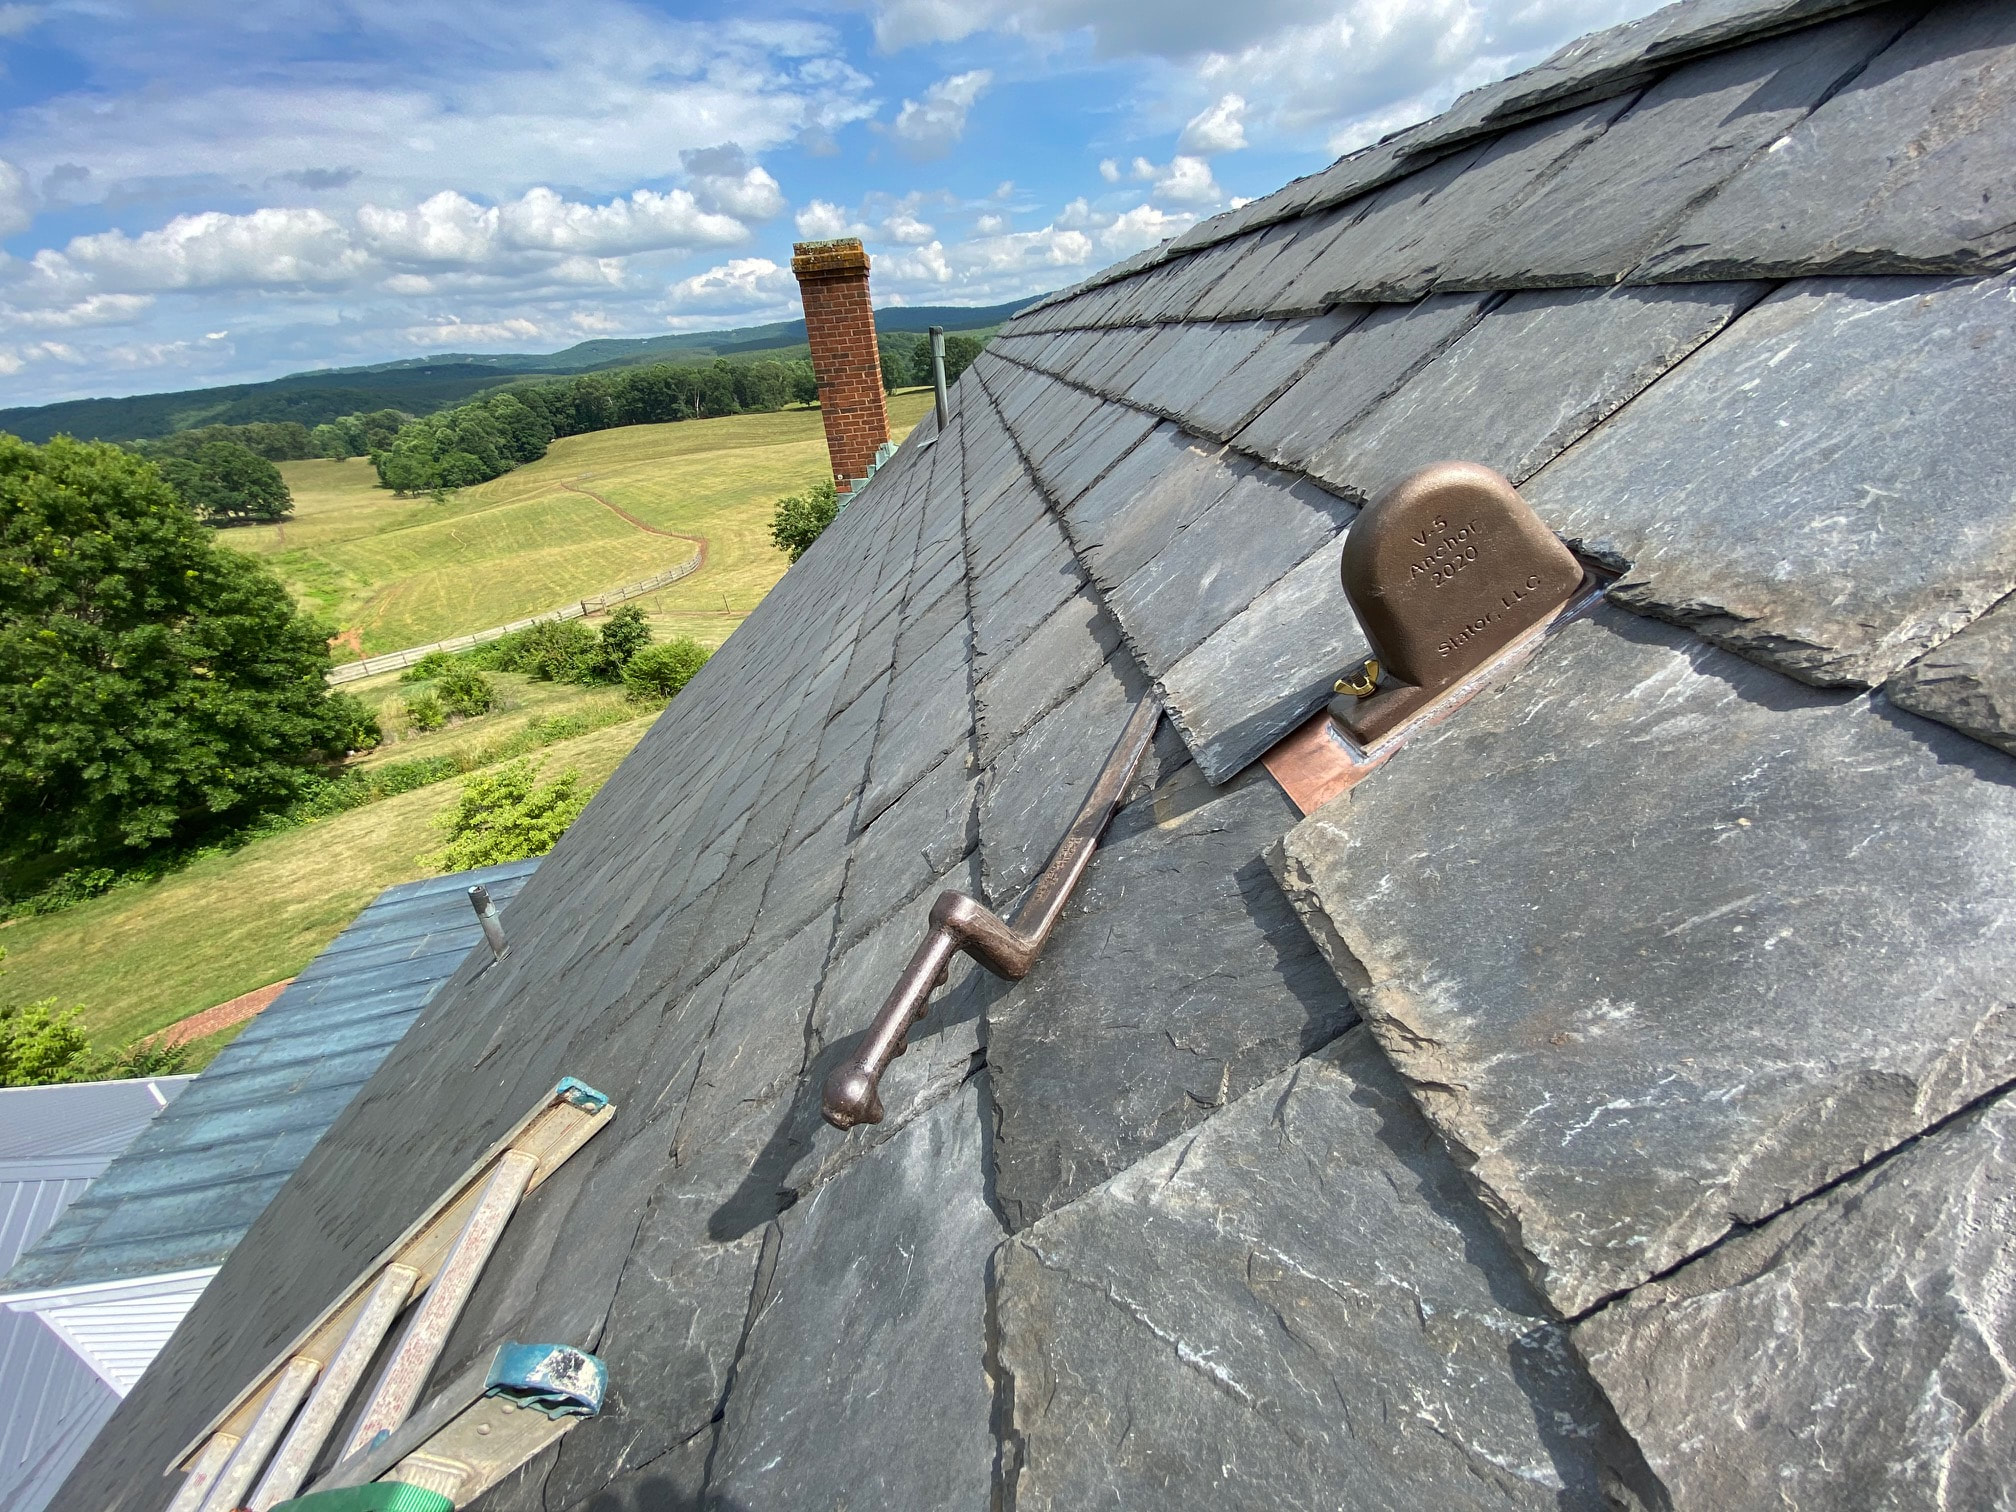
Simple, discreet, totally inspectable fall protection anchor point.

Mount Vernon (George Washington's copper roof shown).

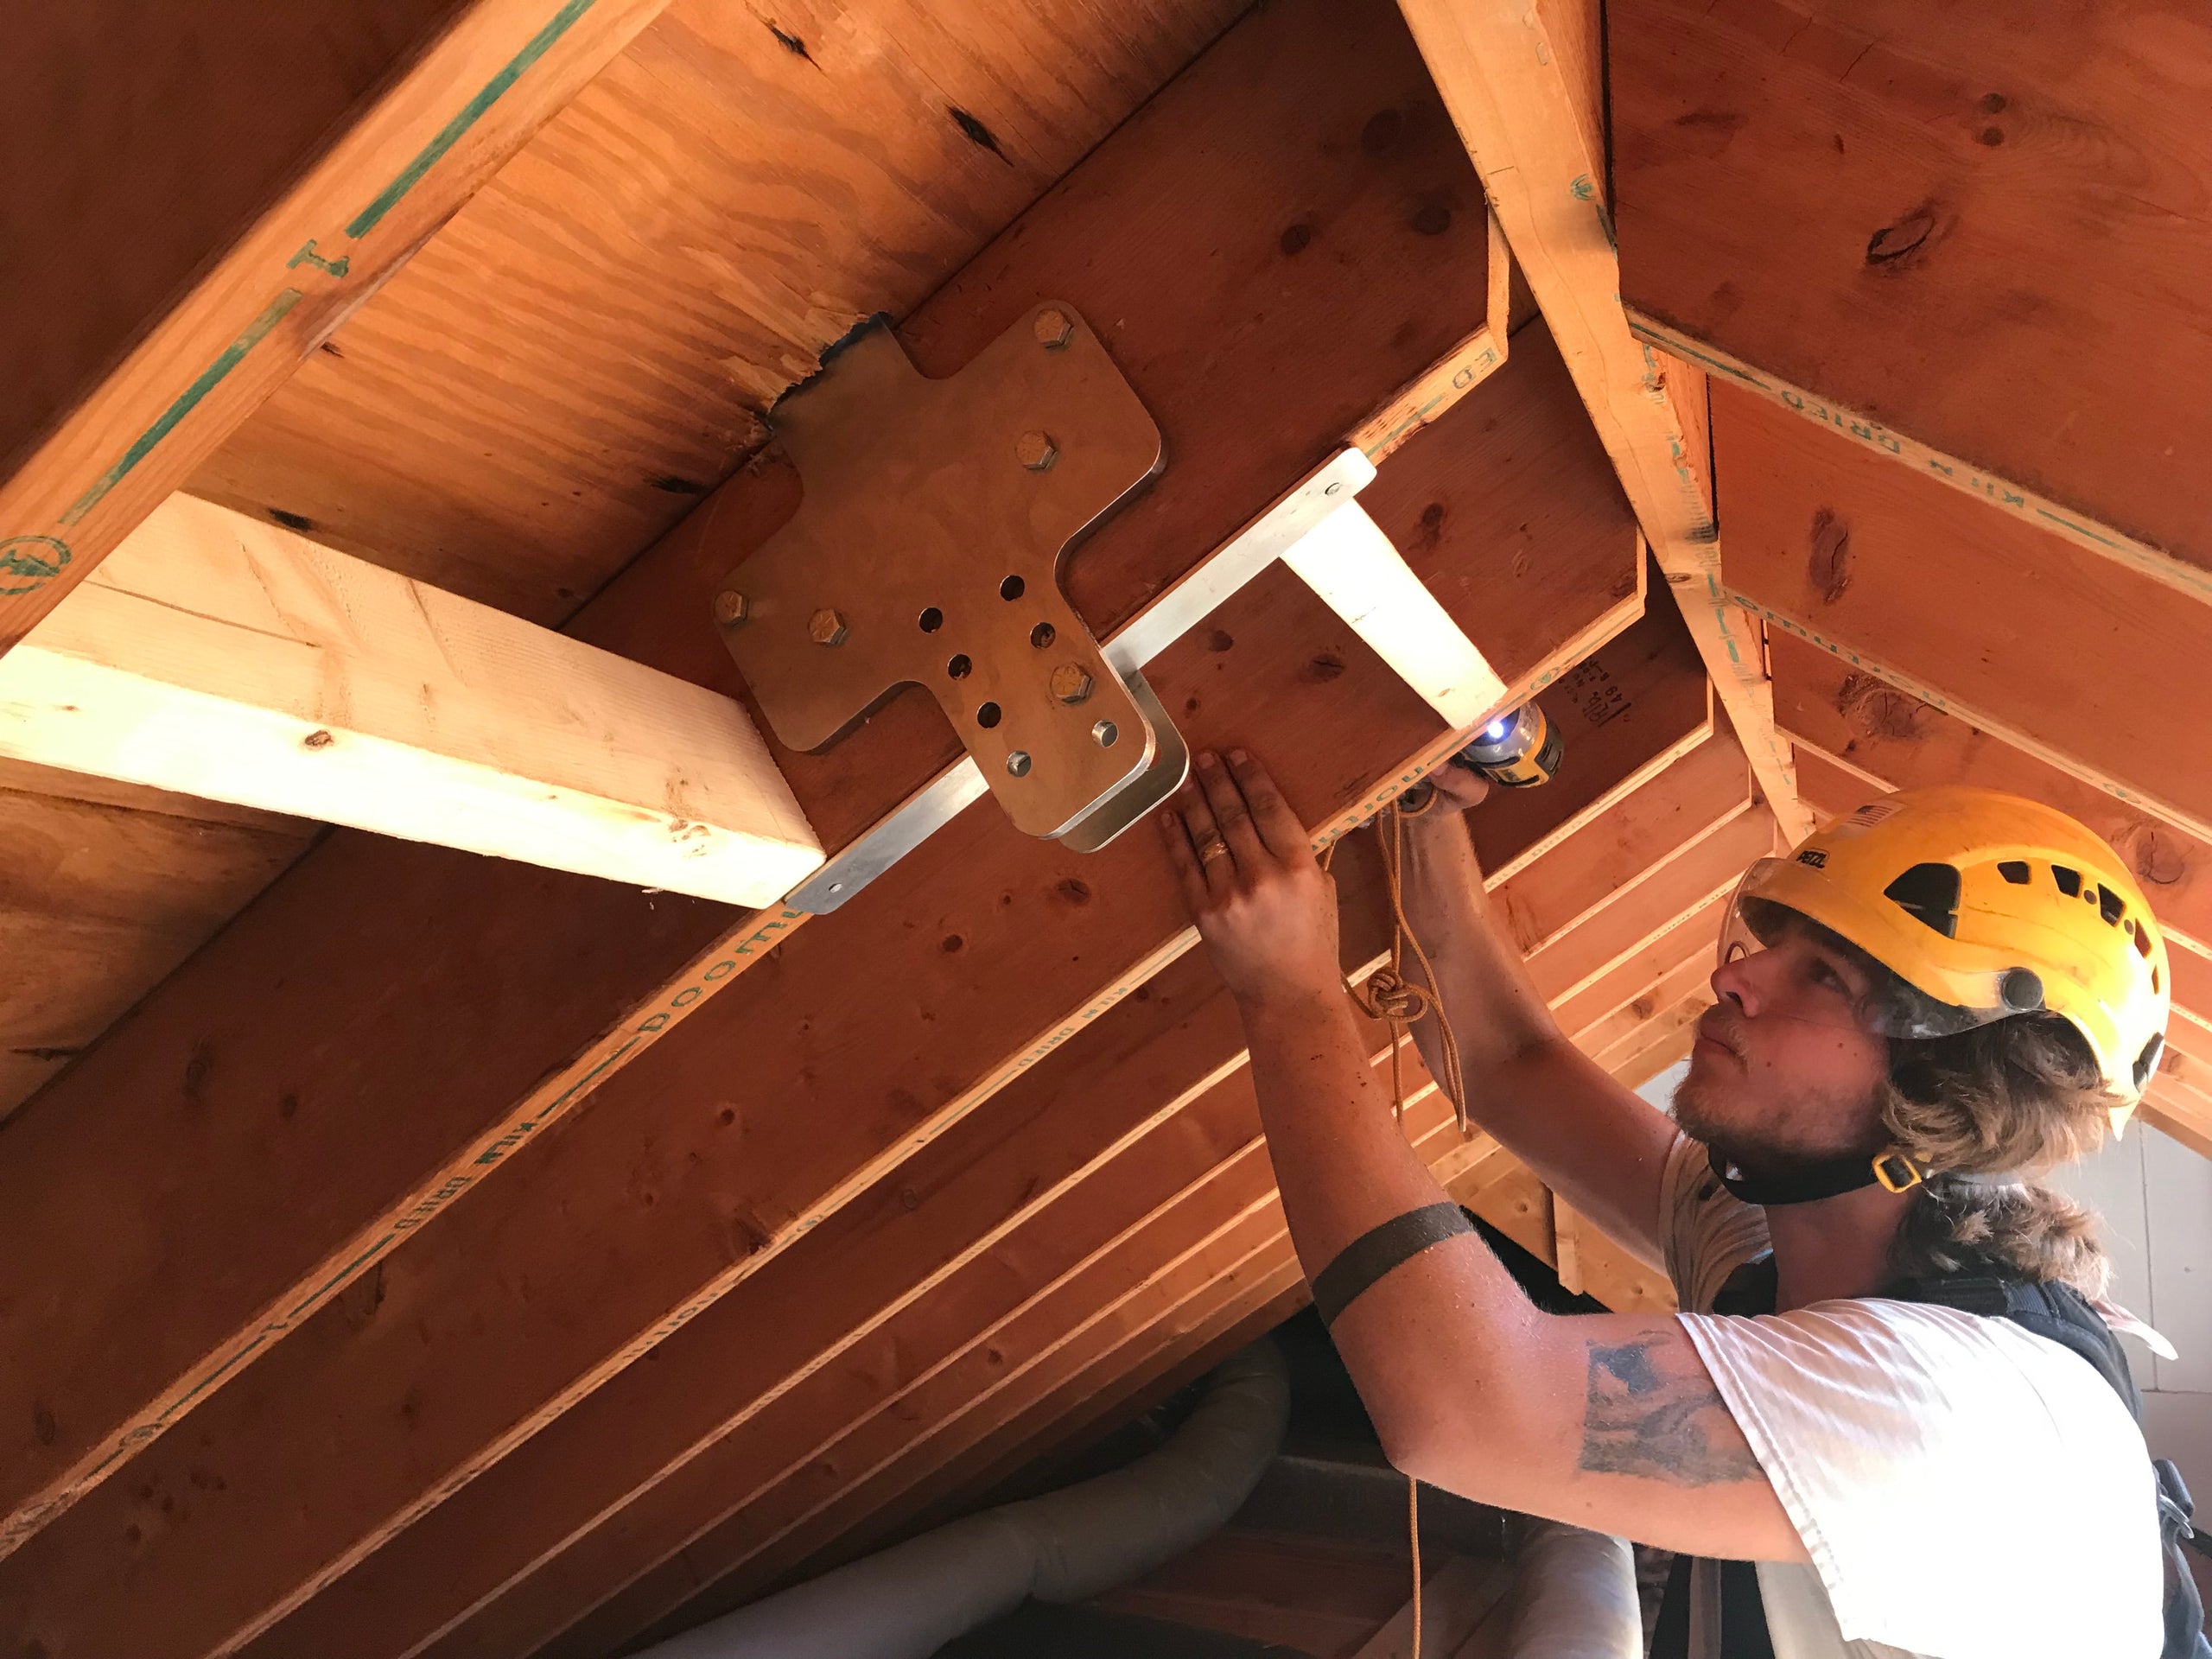
3/8" stainless steel anchor system bolts through and around the roof rafter.

No risky "buried" hidden fasteners.

3/8" grade 8 bolts and hardware.

Ideal for use with standard roof sheathing and up to 1/4" thick slate, cedar shake and asphalt shingle roofs.


The standard V-5 is NOT suitable for use with horizontal lifeline systems (Our V-18 and V-24 permanent ridge anchors are suitable for use with engineered horizontal lifeline systems).


Easy to inspect from the attic prior to use.

Do not use if the anchor has been deformed, the rafter is damaged or if the bolts have loosened.


Installation checklist and inspection tag included.


Our copper and bronze flashing system is sold separately.


The V-5 anchor is in conformance with OSHA 1926 and OSHA 1910 for a single person tie-off in the plane of the anchor (parallel to the rafter) when the installation instructions are followed.

  • Facebook
  • Twitter
  • Pinterest
  • Google+
Add to Cart
THE FLASHING SYSTEM MUST BE PURCHASED SEPARATELY.  
We will call you after your order to select the proper bolt length for your installation.
PURCHASE FLASHING KIT
V-5/V-8 PROJECTS
5 REASONS ARCHITECTS ARE SPECIFYING THE V-5
If your ridge is suitable, consider using our V-18 permanent ridge anchor.
The ridge is the optimal location for a permanent anchor because:

The anchor point will be at the highest possible position.
The worker can work either side of the roof without pulling a rope over the ridge (potentially damaging a ridge).
The worker can maintain line of sight with the anchor.
The worker can utilize remote clip in prior to climbing and utilize continuous last person down fall protection.
Here, our V-18 is shown on the historic Edgewater building in NY.
The V-18 is rated for 5,000 pounds in any direction and can be used on hips as well with the Bermuda style bracket.
Picture

INSTALLATION

The installation of the V-5 is fairly simple.  It consists of finding a suitable rafter, removing minimal roofing material, setting the proper anchor height on the rafter, drilling holes and bolting the anchor to the rafter along with the backer and pressure plates, installing the 2 x 4 lateral blocking for potential side loads, attaching the inspection tag and then installing the flashing plate along with the roofing material.

On an existing slate roof, with easy access to the attic, this turn-key process takes 2 skilled roofers about 75 minutes (once they have access to the anchor location on the roof).  On an asphalt shingle roof, the most difficult part may be separating the shingles.

Once done, the low profile anchor and bronze/copper flashing kit will provide anchor protection indefinitely. 
WHO SPECIFIES THE V-5 AND WHY?
LEARN MORE ABOUT THE V-5
The 5 videos below (each one close to 10 minutes) shows an actual V-5 permanent anchor installation on an existing slate roof.  Watching the videos will show you all the things we look for and plan for during an installation.  They are broken down into different videos so that you can easily rewatch the sections you desire.  We are happy to answer any questions you may have.  Simply contact us.
Anchor in.  Live long.​
SLATOR-USA​
CONTACT
STORE
DIY GALLERY
BLUE GLASS LLC
roof safety video library - 77 videos
Picture
Picture
  • HOME
    • Contact
    • Privacy Policy
  • STORE
  • EXPLORE
    • Blue Glass, LLC
    • DIY GALLERY
    • PERMANENT RIDGE ANCHOR FEATURES
    • Historic ANCHOR PROJECTS
    • CUSTOM ANCHOR PROJECTS
    • Why Specify the V Series Permanent Roof Anchor?
    • SLATOR LIFE SAFETY ANCHOR DESIGN PRINCIPLES
    • HIDDEN GUTTER - Uh oh.
    • PETZL GEAR PACKAGES
  • LEARN
    • SAFETY GEAR >
      • GEAR WE LOVE
      • OSHA-roofing
      • PICKING YOUR ROOFING HARNESS
      • Your Rope
      • Mobile Fall Arrester
      • Your Anchor Point
      • SAFE FIRST ASCENTS ON ROOFS
      • HEAD AND EYE PROTECTION
      • Work Positioning
    • When someone falls off your roof
    • Steep Roof Safety - Video Library
    • Architect's Guide to Permanent Fall Protection
    • Common Sense Selection of Permanent Roof Anchors
    • How many anchor points do I need for a roof?
    • ANCHOR PLACEMENT TUTORIAL
    • Real Slate/tile vs Synthetic Materials
    • SLATE ROOF STEPS